How to Seal Natural Stone Tiles
Natural stone tiles are an enduring and diverse choice when it comes to floor tiles. Installed in homes for centuries, natural stone tiles are a timeless choice for any space, whether a kitchen, bathroom or outdoor patio. In this guide we will cover how to seal natural stone tiles and why you need to seal stone tiles. Sealing natural stone ensuring their longevity and preserving their beauty. If sealed correctly, you will find natural stone tiles are a wonderfully hardwearing and forgiving floor covering! Follow our step-by-step guide for full confidence in sealing your natural stone floor.

Why do you need to seal natural stone tiles?
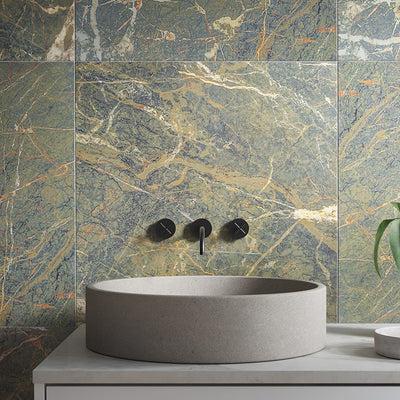
Stone such as limestone, marble or sandstone are naturally occurring materials and are porous by nature. This means they can be susceptible to absorbing liquids, leading to potentially stains or discolouration. Sealing stone tiles creates a protective barrier that can repel water, oil, and other contaminants from the tiles surface, helping to maintain the stones integrity.
It is important to choose the right sealant. We recommend Lithofin Stain Stop which is a matt, impregnating sealer, meaning the sealant fully penetrates the stone offering protection without changing the natural look of your stone floor. We advise against pre-sealing tiles.

Before Sealing Stone Tiles
Prior to sealing, it is integral to check a few things about your installed tiles to warrant the best results. Below is a simple checklist to follow.
Ensure Tiles are Clean:
Sealant should only be applied once the tiles are clean of any dirt, dust or existing residues. Use a pH-neutral cleaner and a soft brush or sponge to clean.
Ensure Tiles are Dry:
Once the tiles are clean, make sure they are completely dry before sealing.
Check for Moisture:
Sometimes there may still be moisture from the adhesive that has to pass through the tiles. Please note the drying time of the adhesive does not indicate the floor is released of all moisture. This can take days and in some cases weeks - your professional installer will be able to guide you.
Test the Sealant:
Once you are confident the tiles are clean, dry and free of moisture, you may want to test a sealant in an inconspicuous area, before sealing the entire floor.

How to seal your Natural Stone Floor
We recommend ensuring the area has adequate ventilation during the sealant application. We advise a minimum of two coats of sealant, one before grouting and one after grouting.
1. Apply First Coat of Sealant
Apply the first coat of sealant generously using a sponge, whilst constantly moving the product around the area for 15 minutes, applying more product if necessary. It is always advisable to work in small sections to avoid application marks. Tilt the sponge at a 45-degree angle over the edge to protect the edges of the tile - take care to not flood the grout joints.
2. Buff Away Excess Sealant
Ensure all excess sealant is removed by buffing the stone touch dry with a white towel. It is important that pools of sealant are not left on the surface of the tiles.
3. Allow Sealant to Dry
All sealants should state the drying time. Allow the correct amount of time for the first coat of sealant to dry. After this, the tiles can be grouted.
4. Apply a Second Coat of Sealant
Once the first coat of sealant is dry and you have grouted the tiles, you can apply a second coat of sealant using the above steps – this will also seal the grout and help protect the tiles and grout from water and potential stains.

How often should you reseal natural stone tiles?
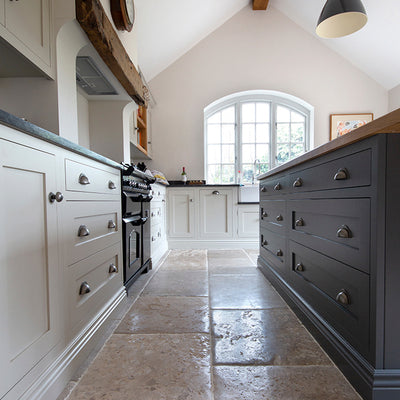
Natural stone flooring will require resealing, but this can be dependent on the use and traffic a floor will see. We recommend resealing every 3-5 years for most indoor spaces such as kitchens, hallways and living areas. Bathrooms and shower areas will likely need resealing every 6-12 months as they can be subject to higher levels of humidity and moisture.
A good way to test if your tiles might need resealing is to sprinkle a few drops of water on the surface. If the water beads, it means the sealant is still intact. If it absorbs into the stone, the sealant’s effectiveness has likely worn down and it is time to reseal the tiles.

In conclusion, sealing natural stone tiles is a simple yet important step in preserving the beauty and durability of your stone floor. By understanding the importance of sealing, choosing the right sealant, and following the proper sealing process, you can enjoy the elegance of natural stone tiles for years to come.
If you found this post helpful, we also have guidance on how to clean natural stone tiles and how to clean outdoor natural stone paving as part of our series on natural stone tiles.